Building your closet system
Building a closet system from scratch means assembling 4 components in sequence: a measured frame, a storage structure, a clothing stock, and a maintenance routine, and the whole build takes 1 weekend to finish in a standard 30 inch wide walk-in. The central idea is simple: a closet system is the complete kit that turns a bare room or a bare bay into a working wardrobe, so the goal is not to buy pretty rails but to close the loop between what you own, how it hangs, and how you find it in under 2 minutes. This page walks the build from first principles, covering the wardrobe and closet question first, then the structure, the stock, and the upkeep that keeps the system running.
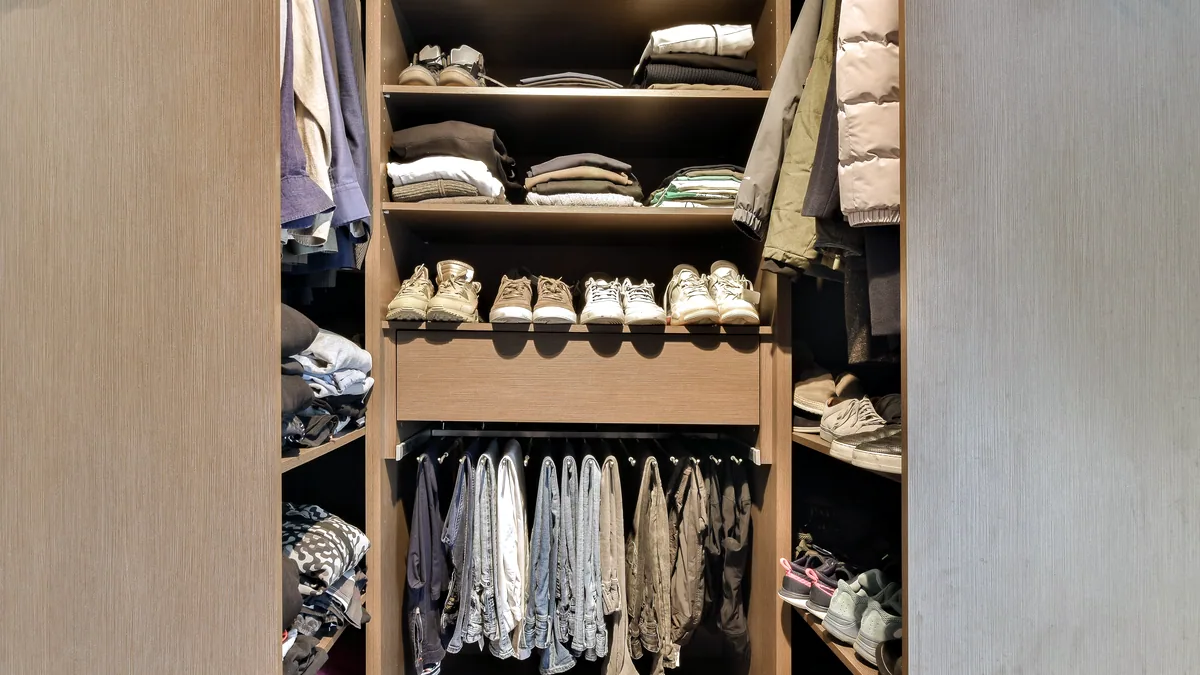
Before any building starts, it pays to settle what a closet actually is versus a wardrobe, and the short version is that a closet is a recessed room or niche you fill while a wardrobe is a freestanding cabinet you move, so the two differ in footprint, cost and how they age. The table below lays the two out side by side so you can pick the right starting point for the room you have, and once you pick a type the rest of the build follows from it. A related decision is when to define your style type, which the stock section treats as the step that decides how many of each rail and drawer you need rather than as a vague aesthetic mood.
Choosing between a closet and a wardrobe
The first fork in the build is whether the system lives in a recessed closet or in a movable wardrobe, and the choice is fixed by your room, not by taste. If the space is a fixed 30 inch wide niche in a bedroom wall, a closet build is the only option because there is nowhere to put a cabinet; if you are renting or the room has no recess, a wardrobe gives you the same storage in a unit you can carry out one day. The three attributes that decide the call are footprint, ceiling height, and how long you plan to keep the system.
| Attribute | Recessed closet | Movable wardrobe |
|---|---|---|
| Footprint | Fits a fixed 24 to 30 inch wide niche | Stands against a wall, 36 to 48 inch wide |
| Ceiling use | Can run to an 84 inch ceiling | Usually 72 to 84 inch tall |
| Move cost | Stays put, drilled to the wall | Carries out in 1 to 2 trips |
| Build time | 1 weekend with 2 people | 2 to 3 hours with a flat-pack kit |
Once the type is set, the rest of the build is the same, so the closet or wardrobe decision is really about where the storage is anchored rather than what it stores, and that anchor is the wall the next section measures.
Measuring and framing the build
To frame the system you need 3 numbers measured with a tape against the wall, and they are the width, the depth, and the height, because the frame is built to them and nothing else. Measure the width at the top, middle and bottom of the niche since walls rarely run perfectly vertical, then take the smallest of the 3 readings as your working width so the frame fits without forcing. The depth should be 24 inch for hanging rails so a jacket does not catch on the door, and the height should run to the ceiling if you can reach the top shelf with a step, which on an 84 inch ceiling means the top storage band sits 66 to 84 inch off the floor.
Two practical rules keep the frame square. First, build the frame from 3 inch by 2 inch timber or from a metal stud system, and check the diagonals are equal because equal diagonals are the fastest square test you can do with a tape. Second, leave a 10 millimetre gap between the frame and the wall so you can slide it home after you fit the rails inside it. With the frame up, you now have a measured box, and the next step is filling that box with the storage structure that holds the clothes.
Structuring rails, drawers and shelves
To structure the inside of the frame, work from the top down because the heavy and rarely used items go high and the everyday items go where your hand reaches, so the layout is a vertical stack of 4 bands. The top band, 66 to 84 inch up, holds shelves for out-of-season boxes and bags. The middle band, 40 to 66 inch up, holds the hanging rails, and a standard rail at 54 inch fits a 48 inch long coat without the hem dragging. The lower band, 18 to 40 inch up, holds drawers for folded knitwear, underwear and accessories, and the bottom 0 to 18 inch band holds a deep pull-out for shoes. The count of rails versus drawers is set by your stock, which is why the style type step comes next before you cut anything.
Drawers are the part that makes the system work, so budget for 6 to 9 of them across the lower band and keep each drawer no more than 20 inch deep so the contents stay visible when it is open. If you are building a built in wardrobe, the drawer run is usually the most expensive line, so it is worth doing it in the first pass rather than bolting on a cheap unit later that will not match the frame. A small table of the bands keeps the proportions honest while you buy parts.
| Band | Height range | Holds | Typical count |
|---|---|---|---|
| Top shelf | 66 to 84 inch | Boxes, bags | 2 shelves |
| Hanging rails | 40 to 66 inch | Coats, shirts | 2 rails |
| Drawer run | 18 to 40 inch | Folded layers | 6 to 9 drawers |
| Shoe pull-out | 0 to 18 inch | Shoes | 1 unit |
The structure is fixed once the bands are set, and with it in place the frame now has a place for every item, which leads to the step of deciding what actually fills those places.
Stocking the system to fit your style
To stock the system you start by defining your style type, because the type decides the ratio of hanging to folded pieces and that ratio decides how many rails and drawers you just built. A casual dresser leans on 4 to 6 everyday T shirts and 3 pairs of trousers, so they need one rail and three drawers; a formal dresser leans on 4 shirts and 2 suits, so they need two rails and one deep drawer. Write the count of each category you own on a card, hang or fold them into the bands you set, and you will immediately see which band is over full and which is empty, then move pieces between bands until each is 80 percent full, which is the fill level that keeps the system readable. The 80 percent rule is the single number that tells you when the stocking is done.
Two habits keep the stock honest as it changes. Re-stock in 10 minute sprints rather than a weekend purge, and let the empty space be the signal that a piece has outgrown the system. If a band stays under half full for 3 seasons, drop that category by 1 piece and the system stays sized to you.
Keeping the system working
To keep the system running, build in a 3 minute daily reset and a 1 hour seasonal swap, because the structure decays the moment the stock stops matching it. The daily reset means every worn piece returns to its band that same day, which takes 3 minutes and stops the floor from becoming a second rail. The seasonal swap, done twice a year, lifts the top shelf boxes down, swaps the hanging rails between in-season and out-of-season pieces, and returns the boxes to the 66 to 84 inch band, and the whole swap takes 1 hour with 2 people. Check the drawer runners every 12 months and re-tighten the frame screws at the same visit, since a loose frame is the first thing that makes a good system feel broken. With the reset and the swap on the calendar, the closet system you built from scratch keeps running as a working wardrobe rather than a room full of rails.
Where to start
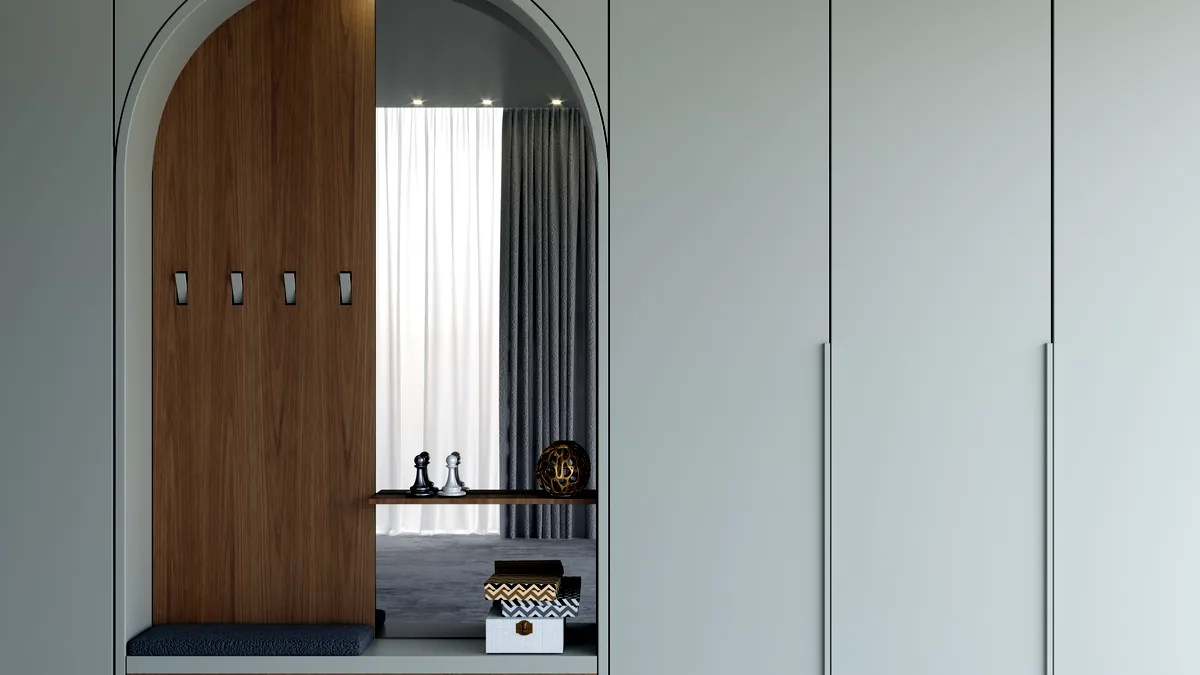 1. START HEREWardrobe and closet comparedA wardrobe is a piece of furniture, while a closet is a built in room or cavity.
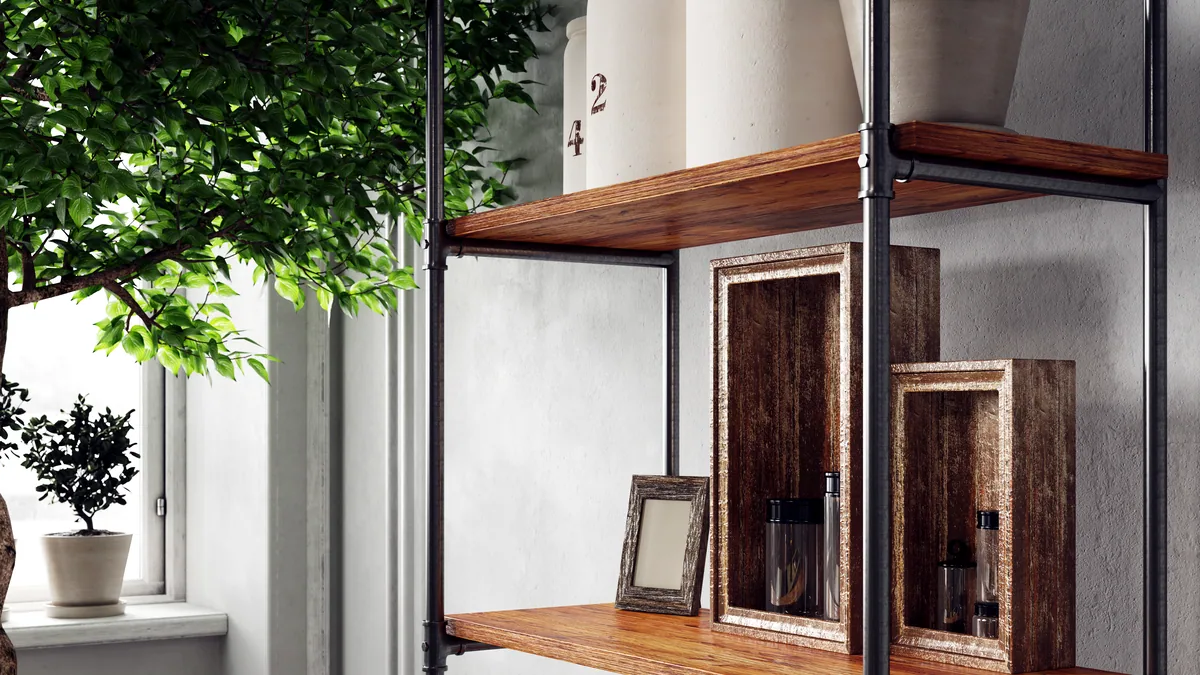 2. HOW TO BUILD A BUILTBuilding a built in wardrobeA built in wardrobe is a fitted wardrobe built into the space of your room, and you build one at home by following 8 steps.
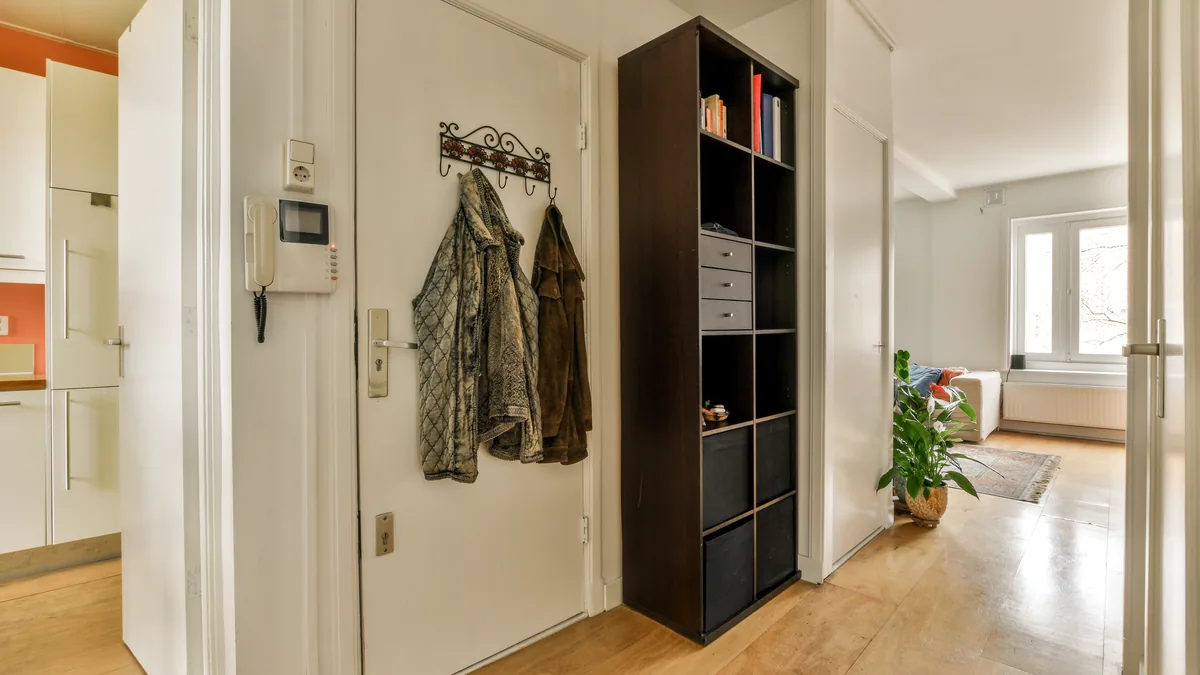 3. HOW TO BUILD A SMALLBuilding a small wardrobeA small wardrobe is a compact hanging and storage unit that you build to fit a tight room, and the way to build one is to measure the space first.